
Whether you're hitting some country roads, scaling remote areas, or simply need extra light on a foggy drive home from work, there's one thing you need to have installed in your off-road vehicle—ditch lights. These specialized lights, strategically positioned right above the hood and below the windshield, create a better field of vision that paves the way for a safer drive. But choosing the right ditch light—one that balances quality, functionality, and aesthetics—is crucial.
So, if you're browsing the market for the best ditch lights, don't be a passenger-side observer. Buckle up and join us on this exhilarating ride as we shine a spotlight on what makes a light truly exceptional.
Understanding the Value of Superior Ditch Lights
Ditch lights, also referred to as A-pillar lights or cowl lights, are more than just an aesthetic addition to your vehicle. They serve a purpose, enhancing your vehicle’s functionality, especially during nighttime drives or in extreme weather conditions. Angled outward, they literally light up the "ditches" of roads and trails, granting you greater visibility.
When it comes to ditch lights, quality is key. Why settle for less when you can saddle your vehicle with the best? Quality ditch lights boast a higher light output, thus increasing your field of sight for driving. Their low profile, yet impact-resistant, design makes them withstand harsh conditions without budging. But what choices do you have to make when selecting ditch lights besides their quality? Here are the most important considerations when picking the best ditch lights for your vehicle.
Amber vs White Lights
When selecting LED ditch lights and light pods for your vehicle, an important decision is choosing between amber and white LEDs, each serving different purposes based on driving conditions and visibility needs.
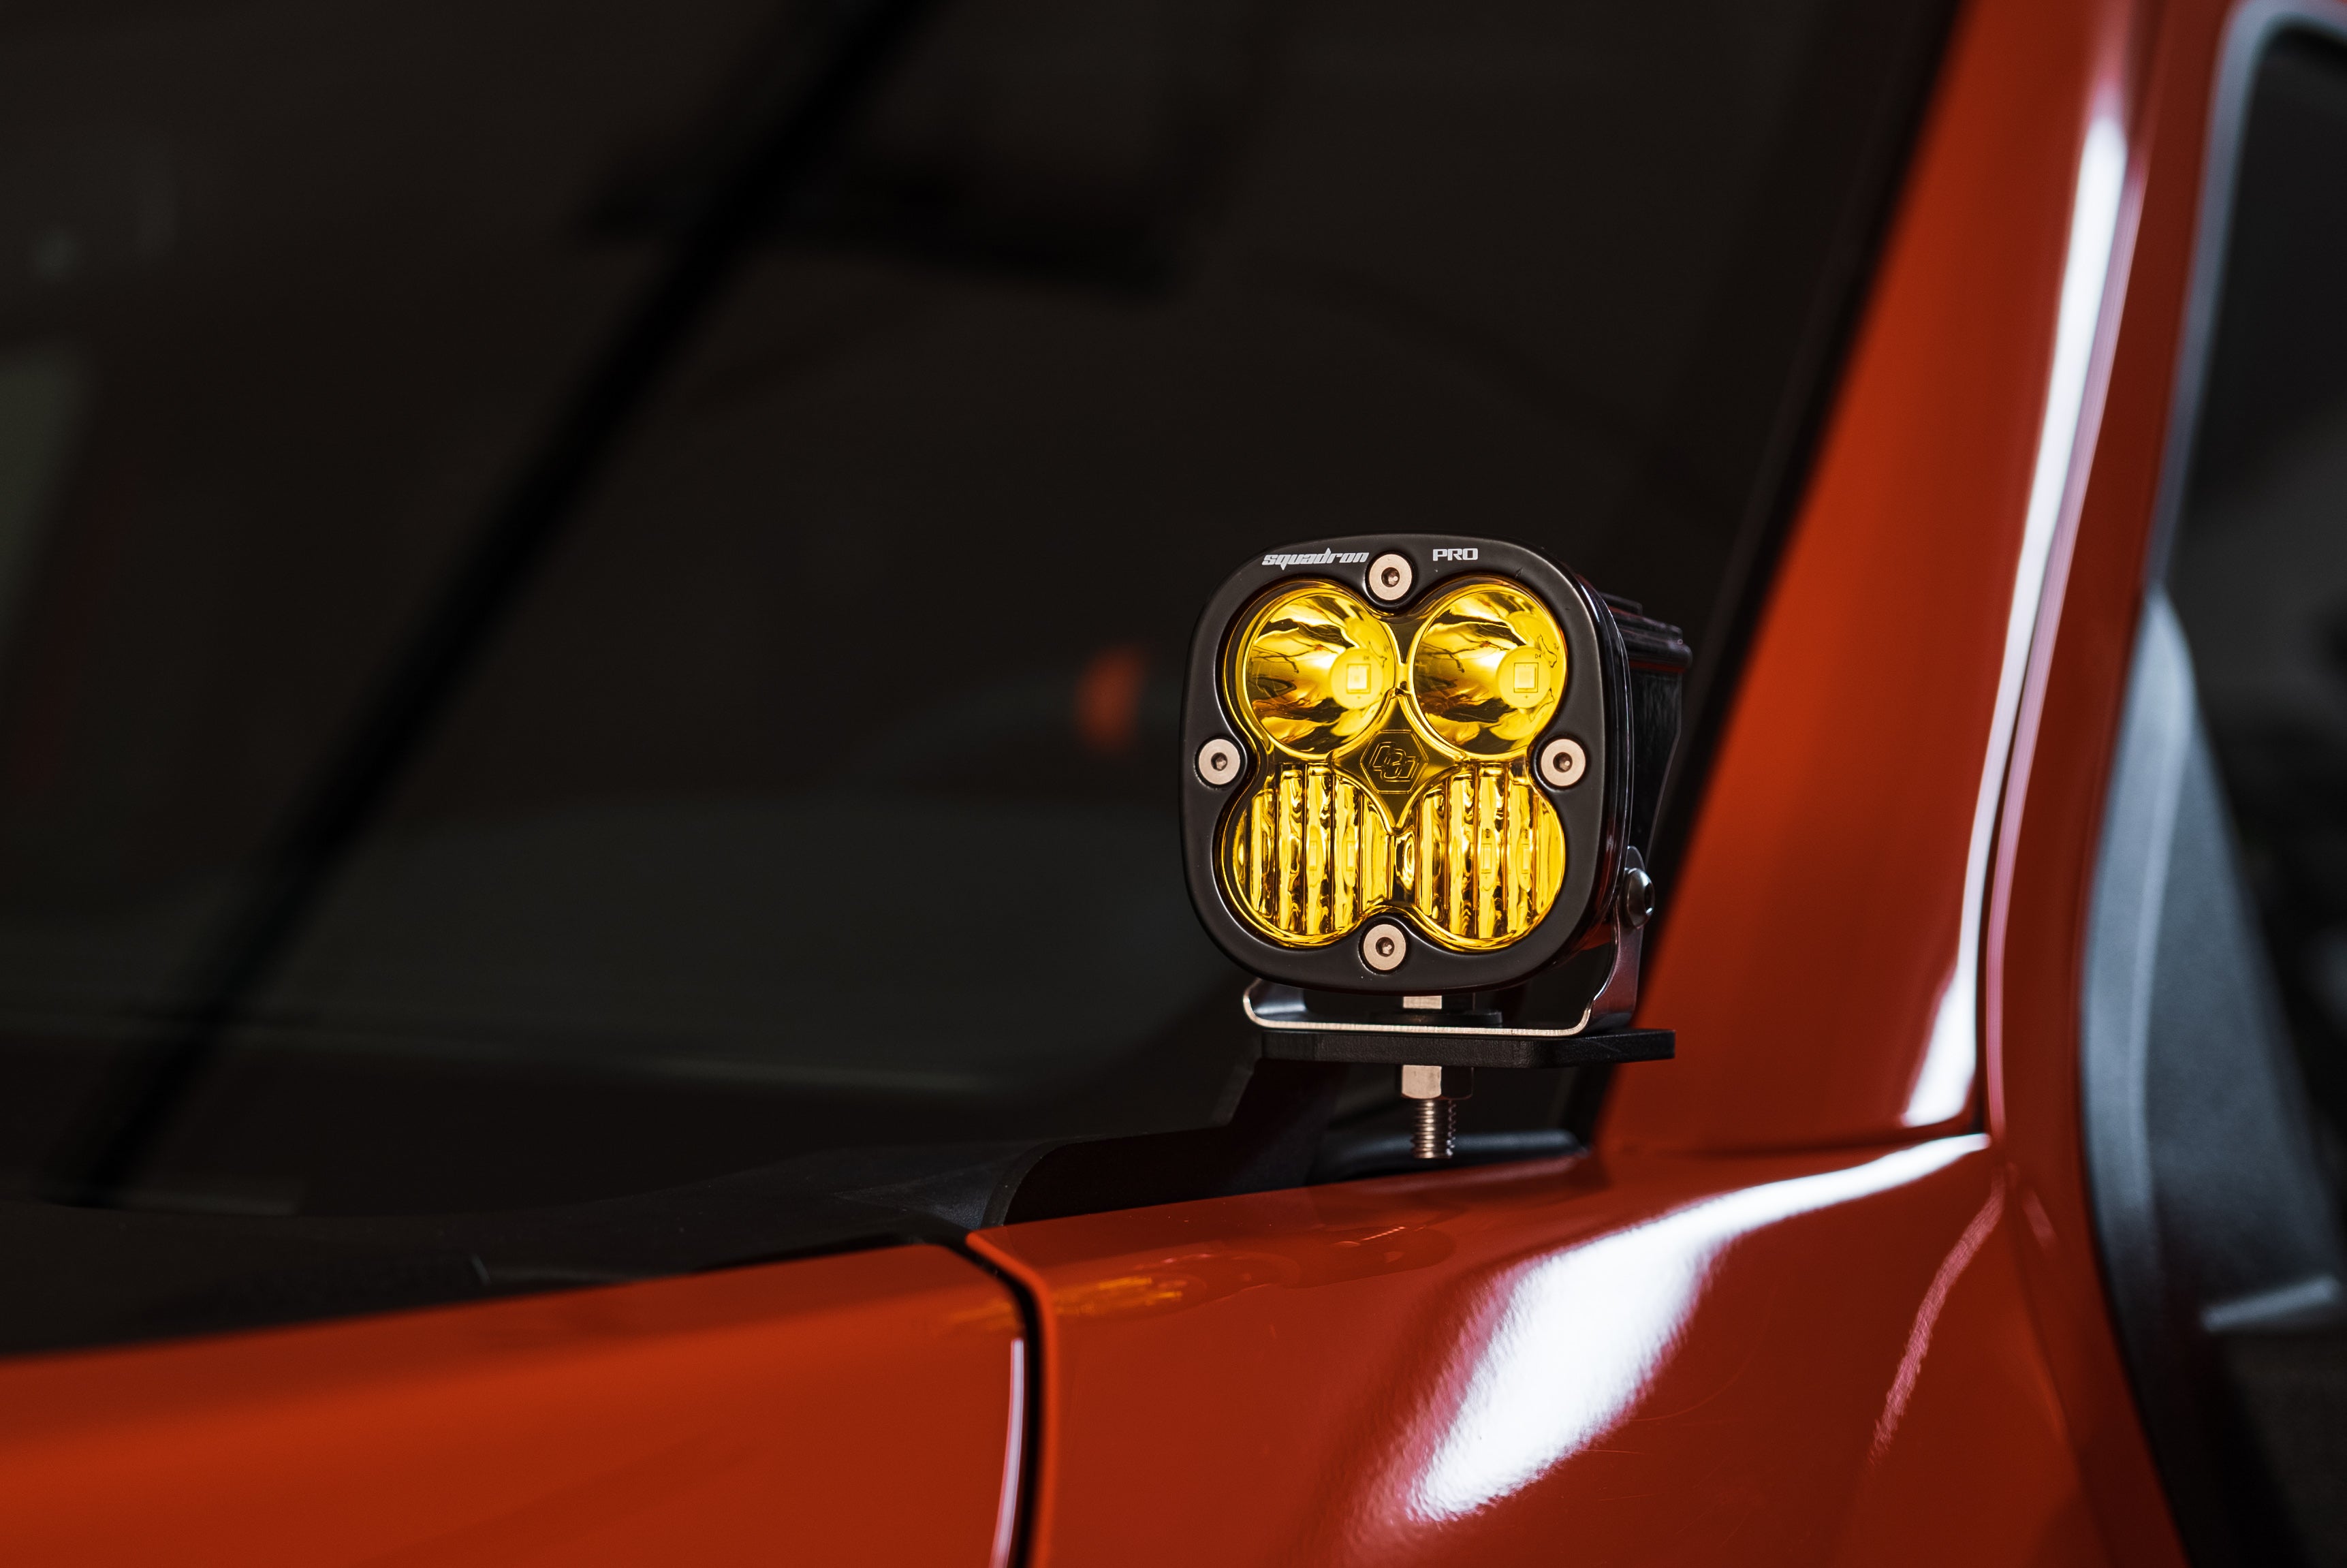
Amber LED Lights: Ideal for driving through adverse conditions such as snow, rain, or dust. Amber lighting penetrates these environments more effectively than white light, making it a superior choice for maintaining visibility during such challenges.
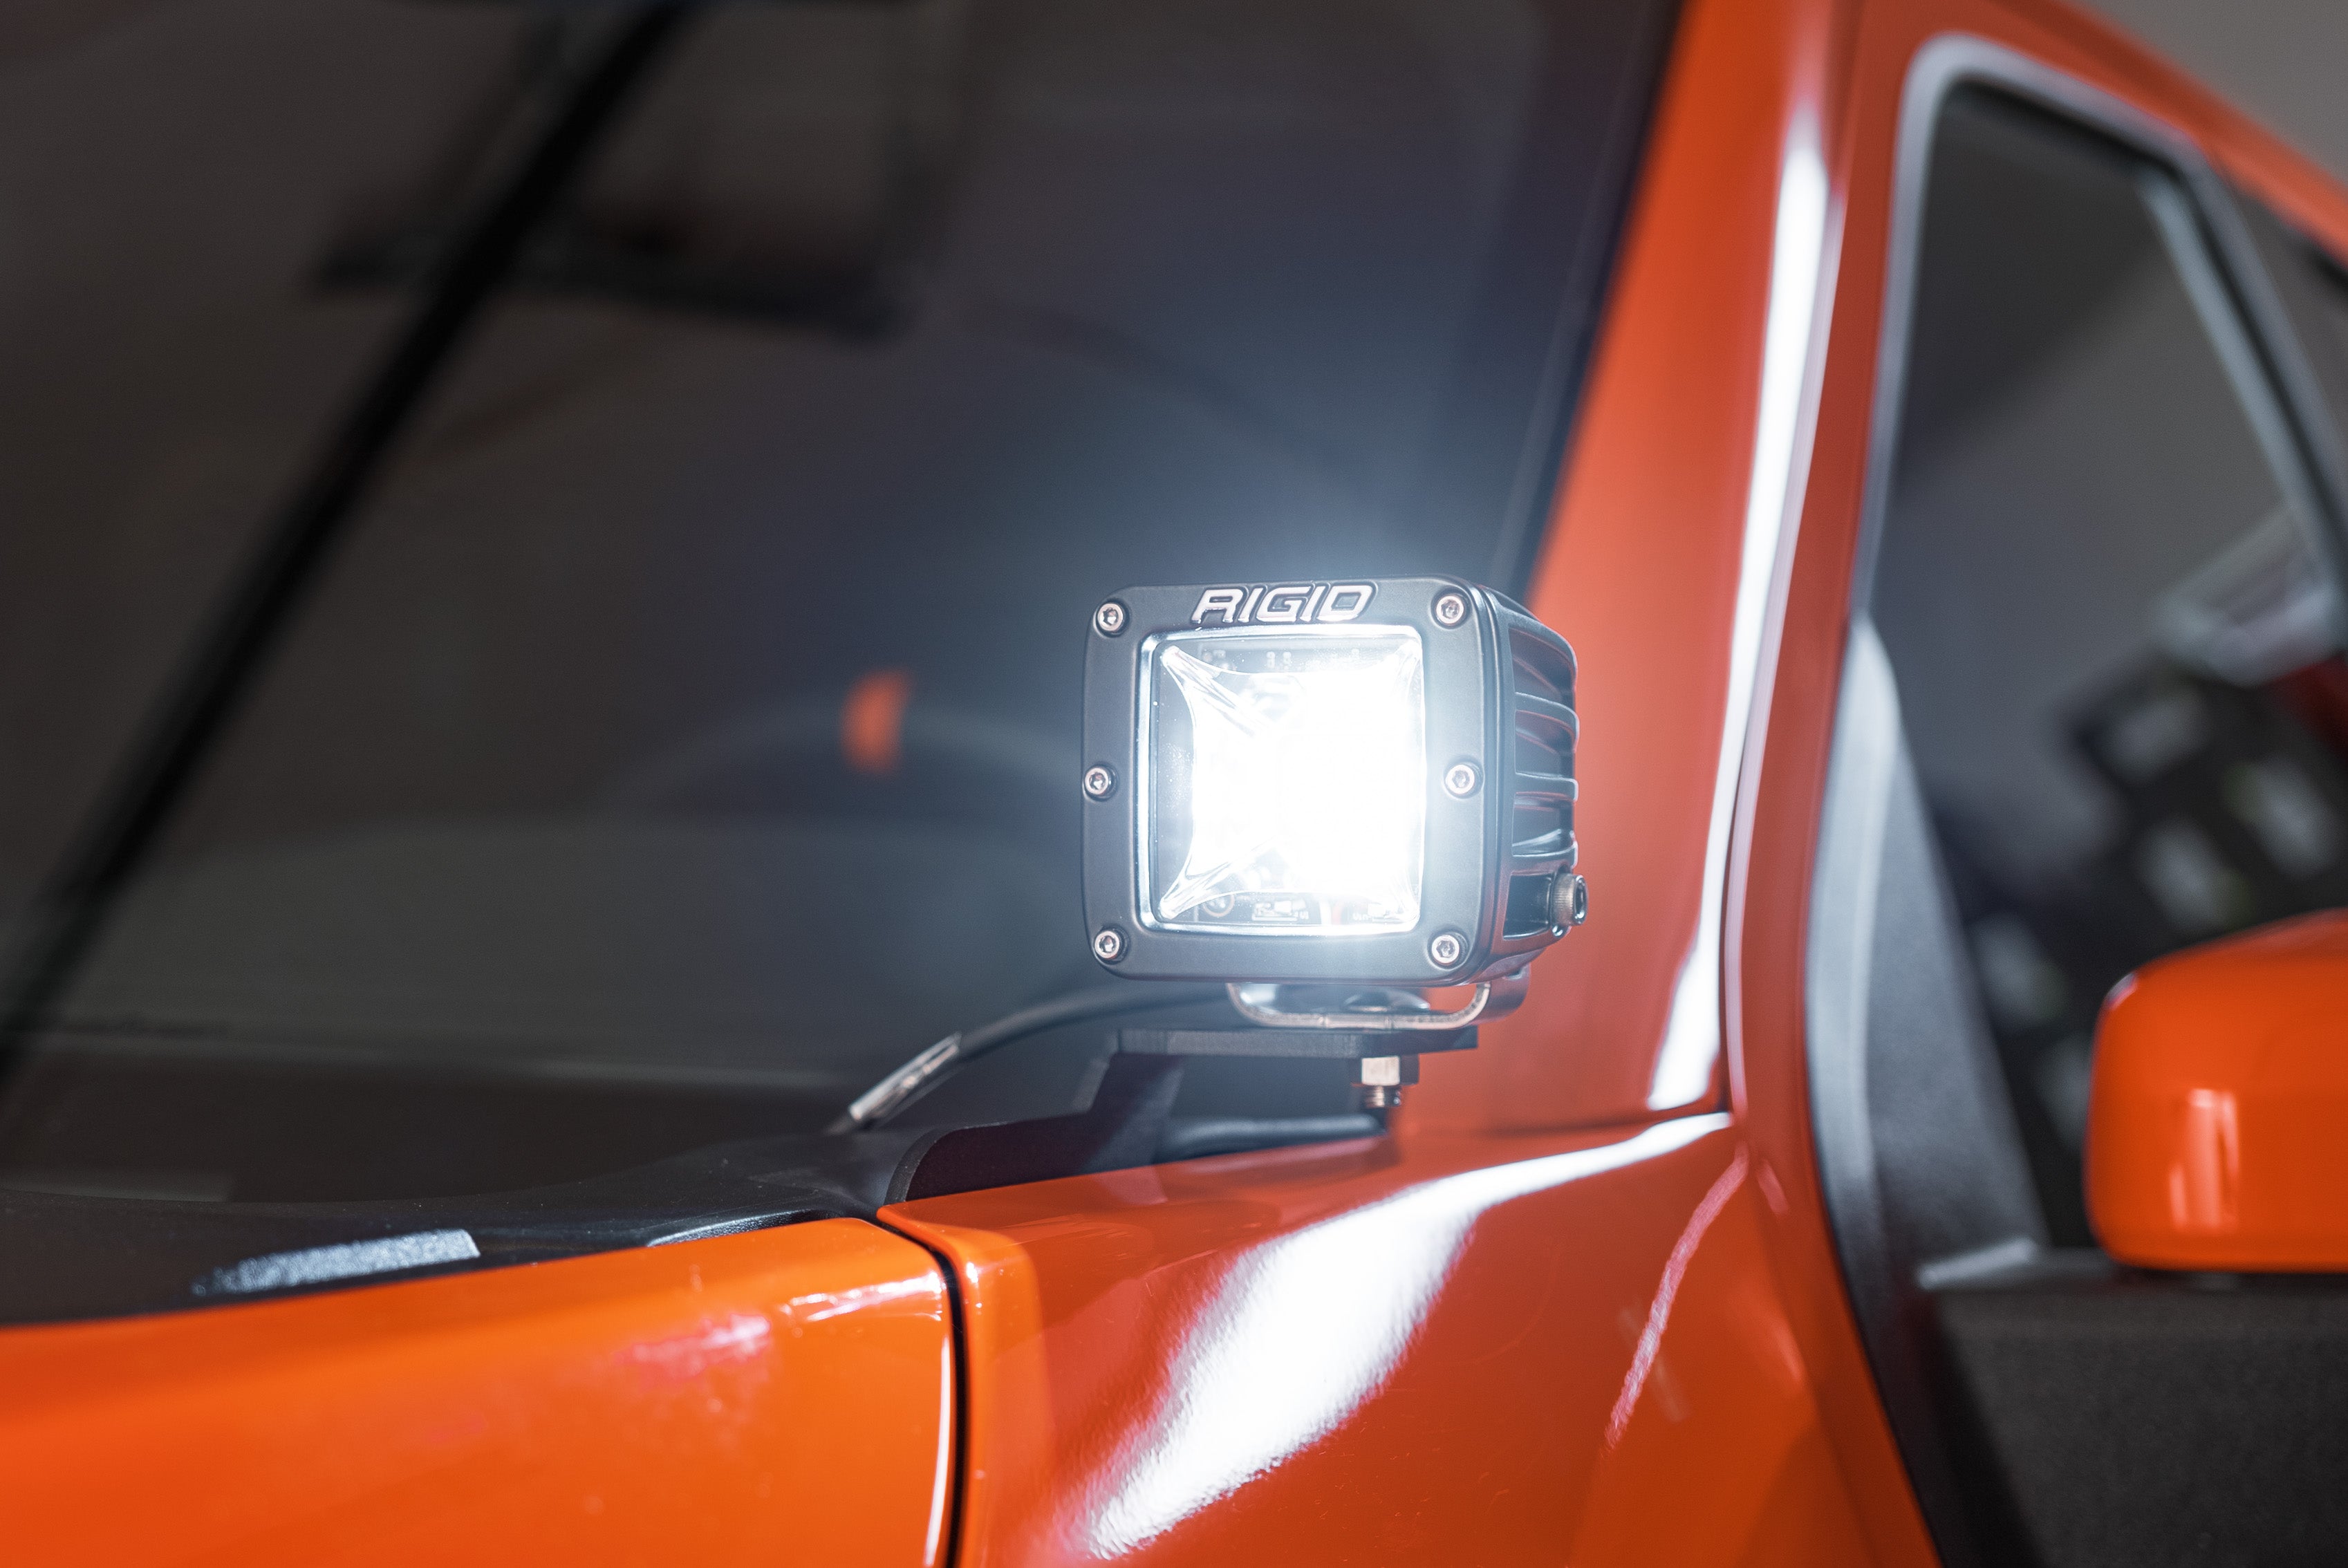
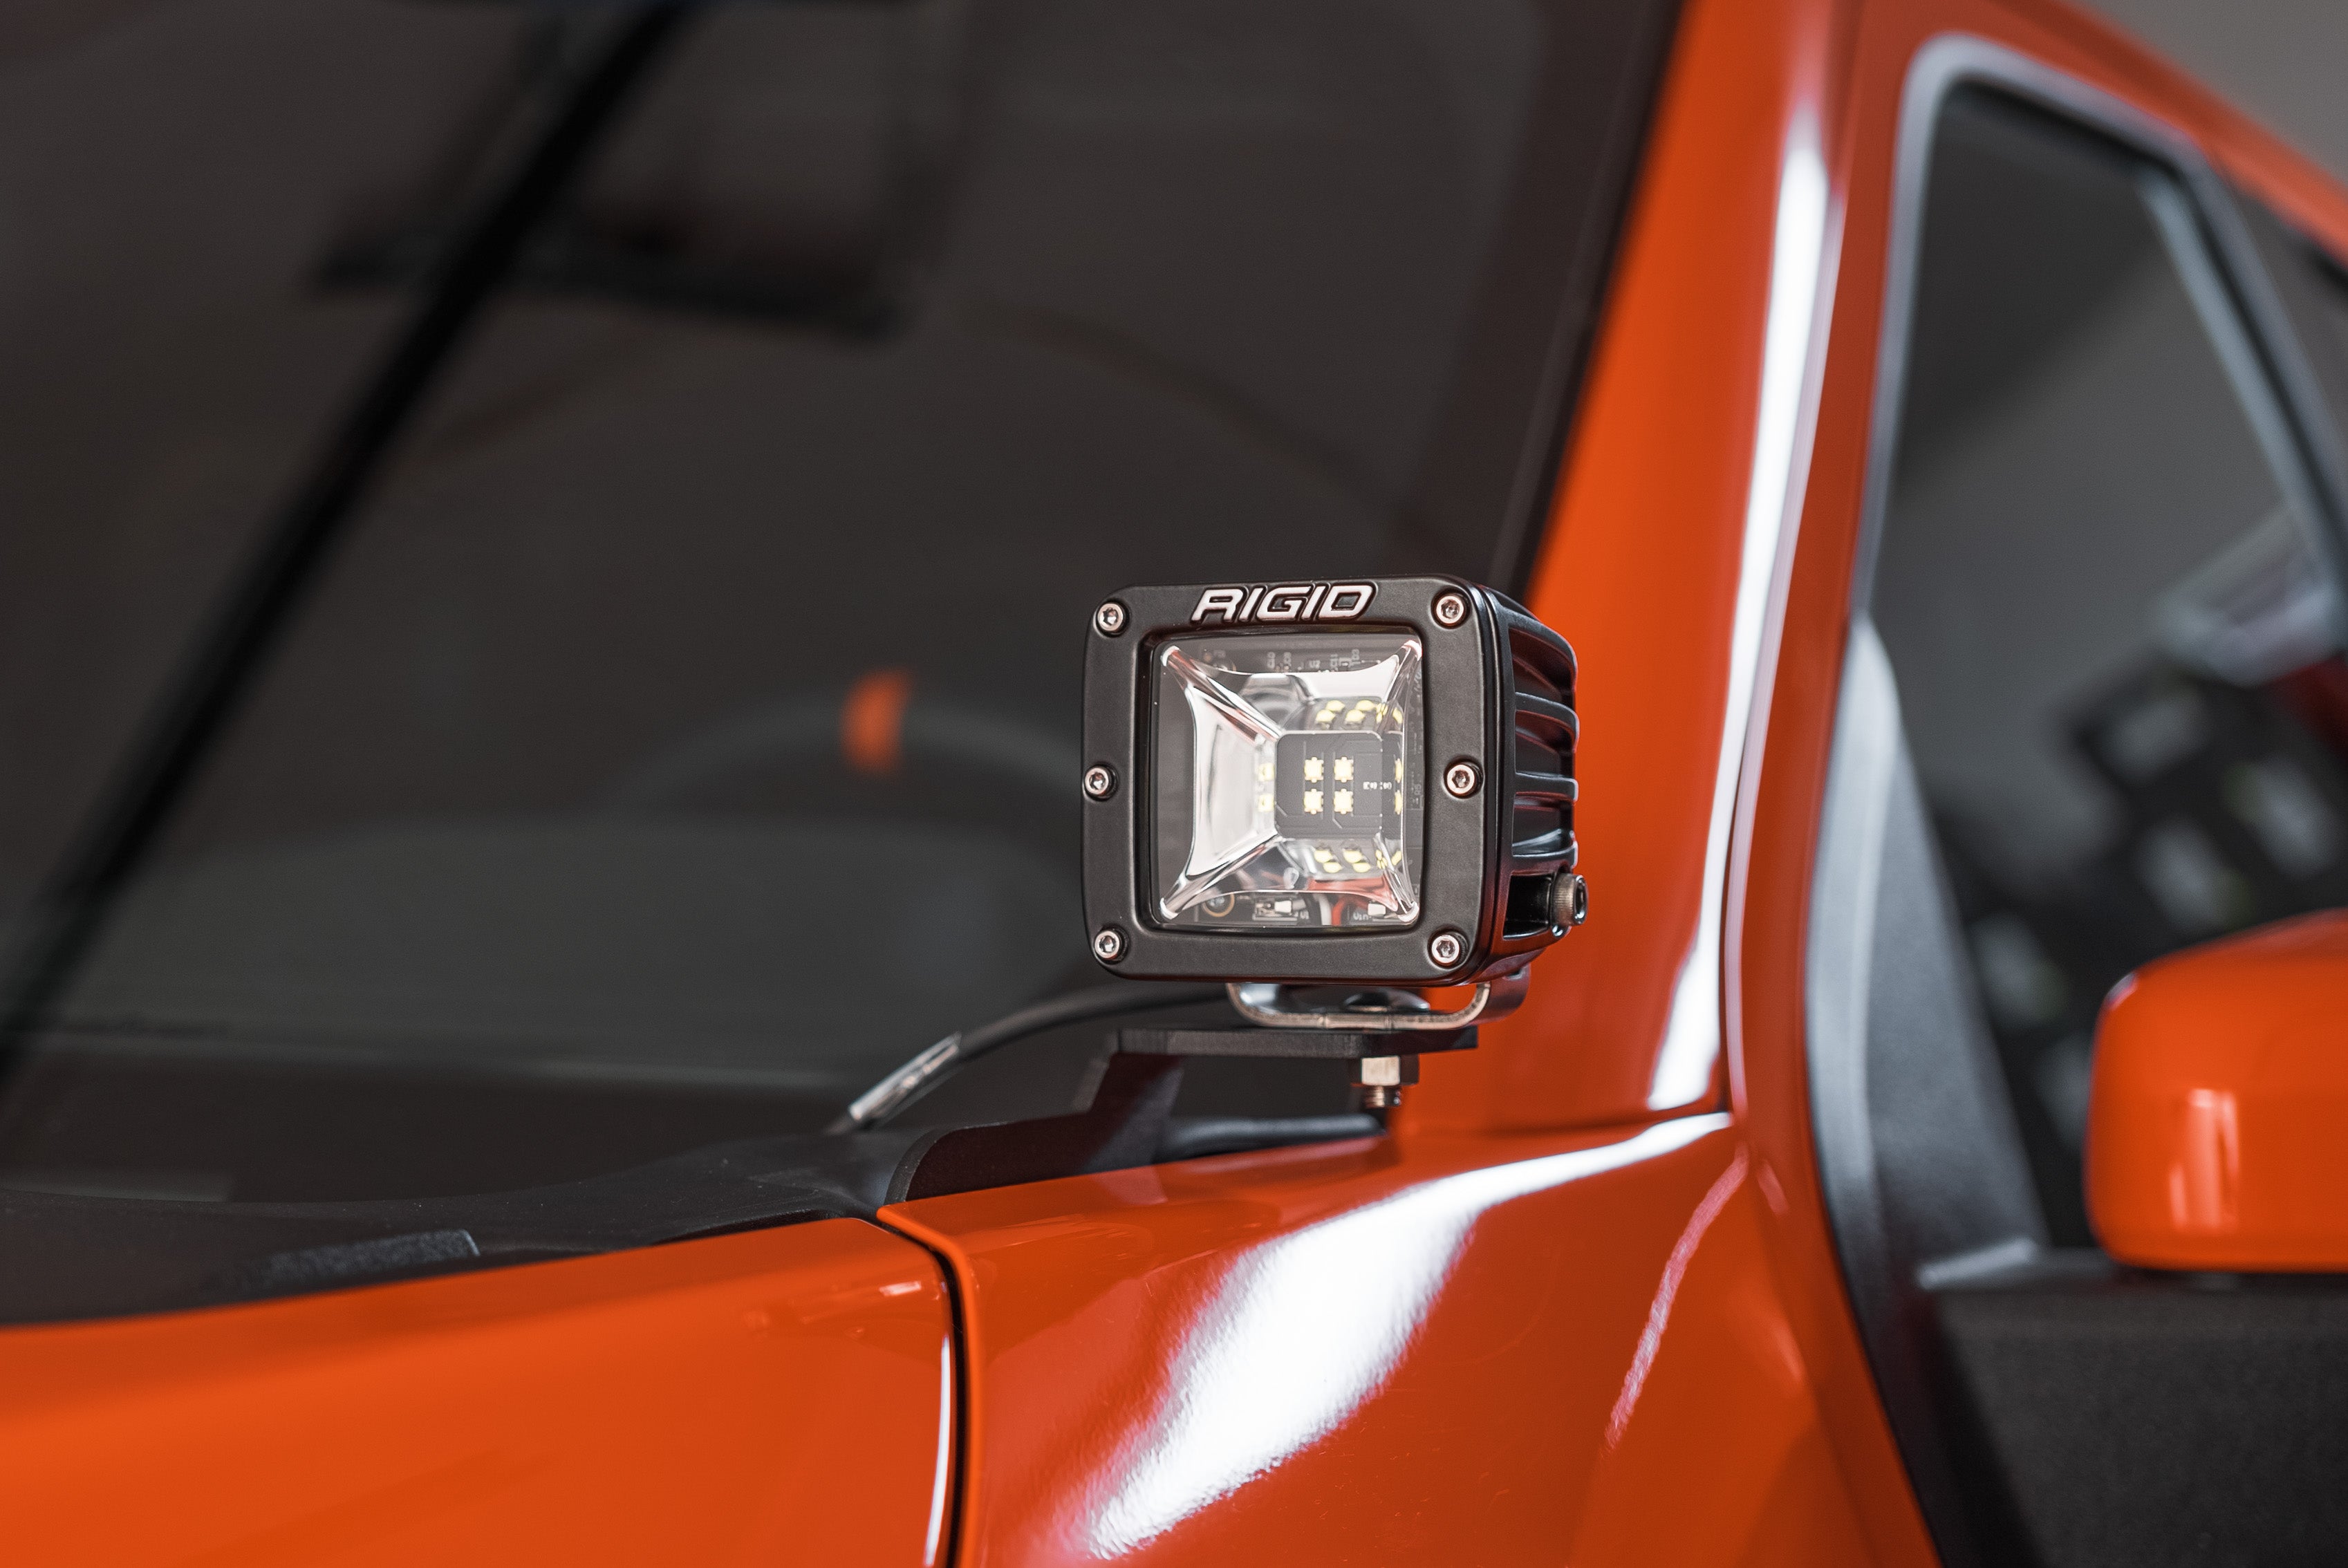
White LED Lights: Best suited for clear conditions where general visibility is the priority. White lights provide broader and clearer visibility, making them preferable for tasks requiring detailed visibility outside the vehicle at night, such as work or emergencies.
Beam Pattern
The beam pattern you choose depends a lot on where and how far you want your ditch lights to illuminate.
If you want more front illumination, then a spotlight beam pattern that illuminates a relatively long distance is the best choice.
If you want to illuminate the sides of the car, to see those ditches and turns of curving roads, then a combo beam or diffused/flood beam pattern is best.
Mounting Options:
- Location: Ditch lights are usually mounted at the hood hinge, above the hood, and below the windshield. With this mounting option, you can angle the lights outward and illuminate more of your peripheral vision. That being said, these lights can be mounted in various locations on a vehicle, including roof racks, hood-mounted special brackets, or replacing existing fog lights depending on your intended use.
- Mount Compatibility: Ensure the lights fit the intended mounting location or that a compatible mounting bracket is available for your vehicle. To learn more about mounting options, specifically a 2021+ Gen 3 Ford Raptor, check out our install video and our specially designed light mounting brackets!
Wiring Considerations:
Ditch lights typically come with wiring harnesses that offer several connection options, including splicing into existing vehicle wiring, integrating an additional fuse, or installing a switch inside the vehicle for easy control.
Our harness wires are designated as follows:
- red wire: power
- white wire: backlight
- black wire: ground
Some companies, including Baja Designs, use white wires for their power so be sure to read your harness's specific instructions.
A Detailed Look at Specialty Performance Parts' Special Mounting Bracket Options
At SPV, we offer two distinct versions of mounts— the light-duty mount and heavy-duty mount, allowing us to cater to standard-size lights as well as sizable lights such as XL series or Rigid Radiance 360 six-inch lights.
Our light-duty mount, forged with 11-gauge stainless steel topped off with a black powder coat finish, is perfect for standard-size lights. For those looking for something more stout, we've got the heavy-duty version. This one, made from 7-gauge stainless steel with dual mounting points, is meant for the big guns, best suited for larger and heavier light brackets.
Included in the package is our plug-and-play A-Pillar style harness. This addition simplifies the chore of the lights' electrical connection. With correct wire alignment and the need to avoid wire pinching or damage during hood closure, this harness ensures secure and properly oriented connections.
The Installation Process: Building Confidence Through Expert Guidance

Knowing you have the right parts is only the first step toward enhancing your vehicle's lighting system. At SPV, we can guide you from purchase to installation, making sure your ditch lights perform at the best of their game.
To install A-pillar mounts, we detail the steps you need to safely secure our rugged mounts on your truck on our YouTube channel.
To get started here are the highlights of this install process:
Choose the Right Ditch Brackets:
Decide between the standard/light-duty mount for smaller lights or the heavy-duty mount for larger, heavier lights like XL series, rigid radiance 360, or six-inch lights. The heavy-duty mounts are recommended for their added strength and two mount points.
Removing Bolts:
For both mounts, start by lifting the rubber flap near the vehicle's a-pillar to expose the first bolt. Remove this bolt using a 10mm socket for the top bolt and a 13mm socket for the bottom bolt (only for heavy-duty mounts).
Installing the Mount:
Standard Duty: After removing the top bolt, align the mount and reinstall the bolt to secure the mount in place.
Heavy Duty: Insert the mount by slightly twisting it to clear around the hood without removing the cowl. Start by inserting the mount from a specific angle to avoid damaging the paint. Use a business card or a similar thin object to create a small gap between the mount and the vehicle's body to prevent paint damage. Secure the mount using the original bolt locations.
Align and Tighten Bolts:
After positioning the mount, start threading the bolts by hand to ensure proper alignment. Tighten the bolts starting with the bottom one to ensure there's still a gap between the mount and the vehicle's body, then fully tighten the top bolt.
Install Lights on the Mount:
Choose and attach your preferred lights to the mount. Ensure the lights are securely fastened and positioned correctly.
Wiring:
Use a plug-and-play a-pillar style harness for easier installation. Ground the harness to the body using bolts inside the fender well and connect it to your switches.
Ensure you connect the wires correctly according to the color coding on the harness. For lights without connectors, crimp the pins on the wires and attach the provided connectors from the harness kit.
Final Adjustments and Testing:
Adjust the positioning of the lights for optimal illumination.
Secure any loose wiring with zip ties to prevent it from being pinched by moving parts or damaging the paint.
Test the lights to ensure they function as expected, including the integration with the vehicle's parking lights or marker lights if applicable.
Cleanup:
Tuck and secure all wiring, replace any removed or lifted rubber flaps, and ensure all bolts and mounts are tight and secure. Check the alignment and positioning of the lights one final time before concluding the installation.
The best part about this process? You won't have to worry about removing your vehicle's cowl. We've simplified the process so all you'll need to do is remove specific bolts to secure the mounts. Furthermore, we ensure there's a gap between the mount and your vehicle's paint to avoid any potential damage.
The Practicality and Functionality of Specialty Performance Parts' Lights
With our ditch lights, we're not just selling a product; we're offering an impressive, seamless integration of lighting technology with your vehicle that will have you wondering how you ever drove without them.
Once installed, our lights, including those from trusted manufacturers like Baja Designs and Diode Dynamics, work like they have been a part of your vehicle all along. Our integration goes hand in hand with the vehicle's marker lights, providing a partnership that shines bright. Turn on the switch and elevate your vehicle's lighting output to a whole new level. Whether you’re driving around town on a foggy night or are off needing brighter lights on rough country roads, thanks to our ditch lights, you're covered.