
The installation and proper wiring of a light bar in your vehicle can be a daunting task if you're trying it for the first time. But, with the right guidance and resources, and of course, a bit of patience, this can easily turn into a DIY project you'll love. Understanding how to wire a light bar is not just a technical skill, but it also ensures you get the optimal performance, brighter light, higher efficiency, and prolonged lifespan of your LED light bar.
Who knows about these projects better than the experienced team at Specialty Performance Parts? With our deep-rooted background in offering quality auto lighting solutions, we have outlined an informational guide on How to Wire a Light Bar.
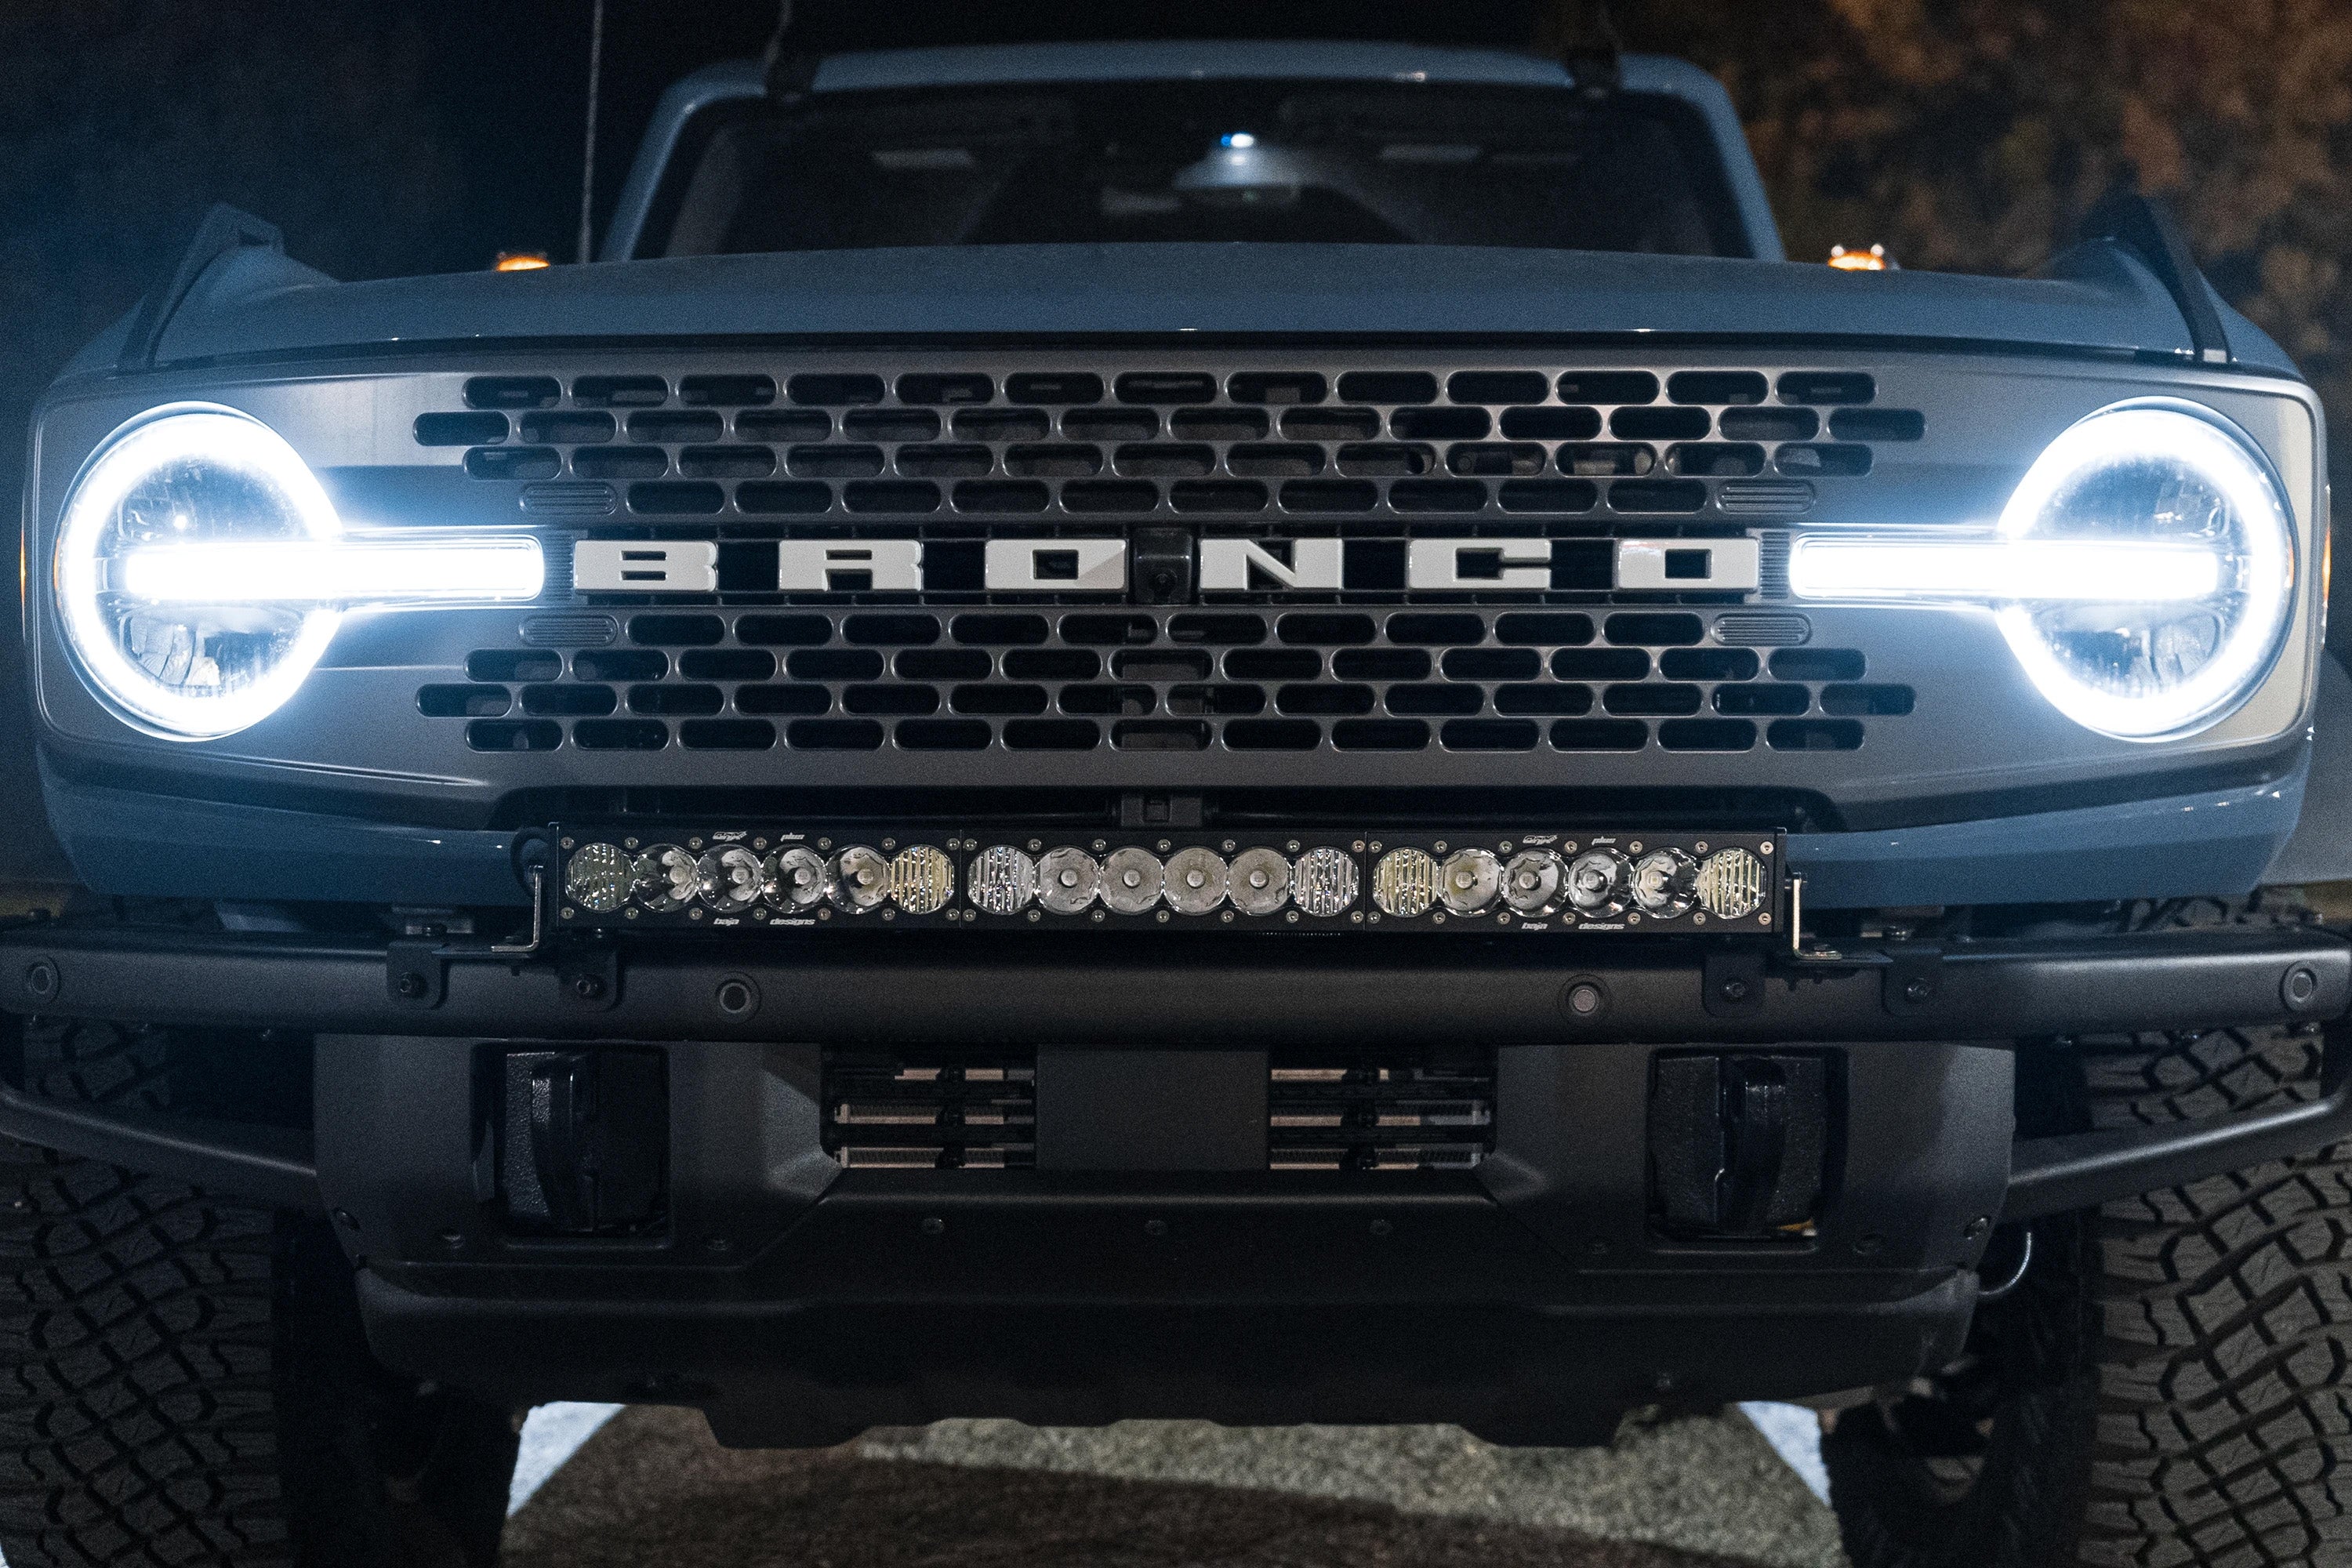
At SPV, we believe in equipping our customers with the right knowledge and transparency to enhance their confidence in our products, services, and within themselves. We carry an extensive range of products from renowned brands like Baja Designs to Diode Dynamics. Whether you need lighting for your Ford F150, Raptor, or any other off-road vehicle, we offer LED light bars designed to deliver robust performance and maximum visibility in all conditions. Thanks to our products, say goodbye to those underwhelming stock headlights and hello to your new tricked-out light bars.
Materials Required: What You'll Need
Before beginning any project, it's important to gather all the necessary tools and materials.
Start by ensuring you have a robust and well-built light bar compatible with your vehicle. Your chosen LED bar should come with flanges for quick and easy mounting. Additionally, to eliminate the guesswork and complications in the wiring process, a wiring harness should be part of your purchase. This included harness will have all the pieces you need including power wires, ground wires, switch wires, a relay, and a switch among other components.

You may also require a few additional tools to ensure a smooth installation:
- Wire cutters and strippers to properly adjust the lengths and ends of your wires
- Heat shrink tubing and a heat gun for a professional finish on any wire splicing
- Cable ties or clips to keep wiring secure and tidy
Detailed Step-by-Step Guide to Wire a Light Bar

Now that you're armed with the required tools and materials, let's delve into the step-by-step process of wiring a light bar.
- Prepare Your Wiring Diagram: Before you start the physical wiring, map out a wiring diagram. This roadmap will serve as your step-by-step guide during the process, ensuring each wire connects correctly. Sketch out the connections from the light bar, via the relay, and switch to the battery.
- Locate the Battery: Check your engine bay and locate your vehicle's battery terminal. The engine bay is the most common and recommended power source for wiring a light bar due to its proximity to the battery. The positive terminal will offer direct power to your LED light bar.
- Unpack and Lay Out Your Wiring Harness: Disconnect the battery before starting the wiring process. Then, take out your wire harness from the package and lay out the wires according to the directions in the wiring diagram. This will include the positive wire meant to connect to the battery for constant power service.
- Check the Inline Fuse: Ensure the inline fuse within the wiring harness is intact and functional.
- Install the Relay: Find a safe and secure location within the engine compartment to mount the relay. It should be as close as possible to the battery without being exposed to excessive heat or moving parts in the engine.
- Attach Wires to the Light bar: Connect the wires coming from the relay to the light bar following the guidelines in your wiring diagram.
- Run the Switch Wires: Run the switch wires from the relay inside your vehicle cabin. Locate a suitable entry point, such as through the firewall, near the passenger seat glove box, or an existing grommet.
- Install the Switch: Decide where you want the rocker switch or toggle light switch that operates the light bar. Ideally, this should be an easily accessible location, such as the center console or driver side. Wire the switch based on the manufacturer's instructions.
- Wire the Relay to the Battery: Connect the relay's power wire (usually the red wire) to the positive terminal on your vehicle's battery. Ensure to replace the fuse holder if it's not already installed.
- Test your Light Bar: After securing all wires, reconnect your vehicle’s battery, and test your light bar. The switch should easily turn the light bar on and off.
Please note that it's vital to protect all wiring connections from moisture and debris to ensure they last. Methods such as using an older thread, wrapping in a wire loom, or applying electrical tape can provide this protection.
Take time to follow each step carefully, as hurried installations can lead to issues down the line. Remember, wiring a light bar is not just about the physical connections. It's also about making sure those connections are safe and secure for reliable, long-term performance. And don't worry, if you get stuck at any step, the knowledgeable SPV service team is always here to help.
Common Issues and Their Fixes
While undertaking any DIY automotive project, like wiring a light bar, common issues can sometimes arise. But these are often simple problems with straightforward solutions. Below, we discuss some typical stumbling blocks and how to overcome them.
Issue 1: The Light Bar Doesn't Light Up
If your LED light bar fails to turn on after installation, start by checking your relay. The relay acts as a switch and directs power to the light bar. If the relay fails, your light bar won't light up. In case your relay is faulty or damaged, simply replace it and recheck the light bar.
Issue 2: The Light Bar Doesn’t Switch Off
Typically, this issue arises from incorrect wiring of the switch. Double-check your wiring diagram and ensure you've connected the switch wires correctly. Additionally, ensure that the switch is in good working condition. If you still face the issue, the fault might lie in the separate switch, and it may require changing.
Issue 3: The Light Bar is Flickering
This problem can occur when the wiring or relay isn't carrying enough current to the light bar. It can also happen with poor grounding. You could resolve this issue by checking the wire connections on the light bar and the relay. Adjusting the fuse in the fuse box or fuse block can also solve this problem.
Issue 4: The High Beam Doesn’t Work
Your high beam wire might have a problem or high beam connections in your factory wiring may be faulty. Test the wire with a multimeter to confirm if the issue lies here and replace it if needed. Also, ensure your high beam is receiving power, check your fuse, and replace it if anything's not up to par.
Issue 5: Light Bar Drains the Battery
If your light bar is draining your battery even when the vehicle isn't running, you have likely connected the light bar to a constant power source rather than an ignition-switched source. Re-route the light bar’s wiring to a power source that cuts off when the ignition switch is turned off.
Remember, wiring a light bar might seem elaborate, but with patience and the correct guidance, you can do it successfully. But if you ever feel stuck or unsure, don't hesitate to reach out to us. With our vast experience and technical expertise at SPV, we're more than happy to assist you. Additionally, check out our installation instructions and information page to see the exact details of your light bar model. Finally, another great resource is to visit a forum community, where other light bar enthusiasts can ask questions and answer common issues.
The SPV Difference: Exceptional Service and Expertise in Vehicle Lighting

Learning how to wire a light bar to your vehicle can be an empowering and rewarding exercise, turning you from observer to participant in your vehicle's care. Once you comprehend the wiring process and familiarize yourself with basic parts like the wiring harness, relays, switches, the high beam, and other components, not only can you troubleshoot minor issues, but you're also better equipped to maximize the potential of your LED light bar.
At Specialty Performance Parts, our commitment to our customers extends far beyond selling top-quality auto lighting products. We are here to support you throughout every stage of your journey and ensure you feel confident in the functions and potential of your vehicle.
Reliable and powerful lighting can significantly improve your driving experience in a way factory headlights can't, especially when navigating through tough terrains or tackling challenging weather conditions. By understanding the wiring process of a light bar, you're investing not only in the performance of your vehicle but also in leveling up your automotive skills.
We hope this guide has given you useful insights into the wiring of a light bar. For further assistance, or should you have any more questions, please reach out to us. Think of us as a valuable resource in your vehicle ownership journey. At Specialty Performance Parts, we're more than a product provider; we're a partner invested in your unforgettable driving experiences.